Introduction
Vlogging didn’t just survive the last few years—it adapted. In a digital landscape where trends come and go faster than ever, vloggers kept their footing by staying plugged in, nimble, and relentlessly creative. The medium kept pace with shifting algorithms, rising audience expectations, and the explosion of new platforms. It proved its staying power by doing what it does best: offering personal, authentic stories in real time.
But 2024 brings a fresh wave of change, and creators can’t afford to coast. Algorithms are tightening their grip, viewer habits are evolving, and production tools are getting smarter. What worked last year might not cut it now. The creators who will thrive are the ones willing to rethink strategy, embrace tech without losing soul, and lean into specificity over mass appeal. The rules of the game are changing—again—and this time, it’s not just about getting views. It’s about building something that lasts.
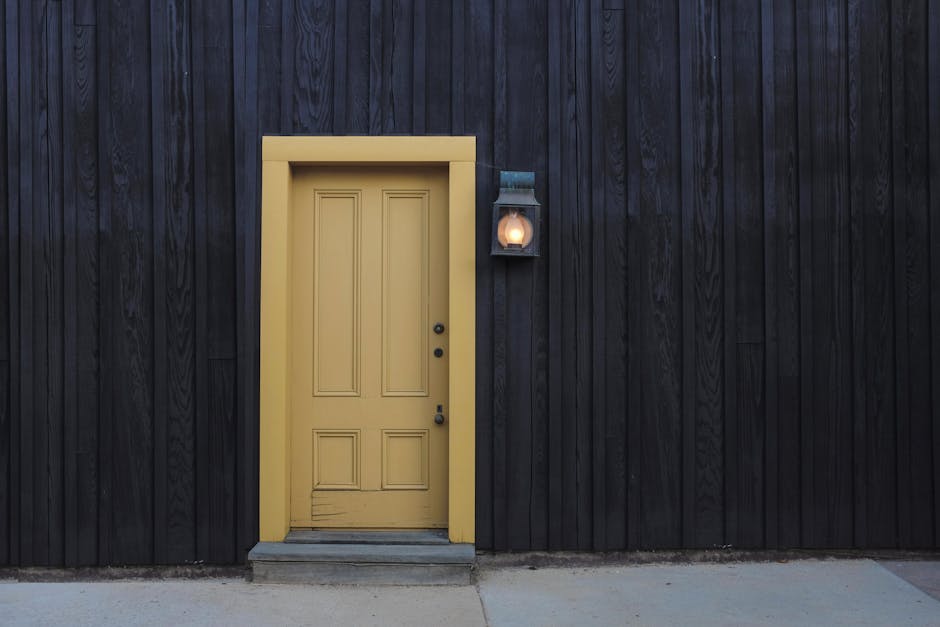
Shiplap remains a solid design choice for a reason—it’s classic but adaptable. In kitchens, it brings texture without overwhelm. In bathrooms, it adds charm and layers easily with tile or modern hardware. And in mudrooms, it’s practical: tough against scuffs and stylish enough to hold attention. Bottom line: it’s doing more than just nodding to farmhouse. It’s proven it can evolve.
When it comes to installation, orientation matters. Vertical shiplap is trending in 2024—not just for a modern twist, but for the way it elongates walls and feels fresh. Horizontal still works, especially in traditional spaces, but vertical is stealing the show in remodels and new builds alike. Choose based on the vibe you want: casual-cozy or tall-clean lines.
Painting shiplap is where things really open up. All-white everything is fading. We’re seeing moody neutrals, soft earth tones, and even bold color blocks come into play. The trick is prep: sand lightly, prime with a stain-blocking primer, and use a roller or sprayer to avoid brush lines between the grooves. It’s still shiplap—but with sharper edges.
Statement Walls with MDF or Plywood
Modern accent walls are going beyond paint. Designers and DIYers alike are using MDF and plywood strips to add architectural interest, especially in minimalist or contemporary homes.
Why It Works
These materials are not only affordable, but also incredibly versatile. They offer a clean, linear look that adds depth and sophistication without overwhelming the space.
- MDF strips are easy to cut, paint, and customize to fit virtually any room
- Plywood panels introduce natural texture and visual warmth
- Minimalist designs and geometric patterns are especially popular in 2024
Where to Use It
Accent walls made with MDF or plywood are ideal for:
- Bed walls – Create a custom headboard or frame with linear designs
- Hallways – Add dimension and character to transitional spaces
- Home offices – Bring texture and interest to your work-from-home backdrop
Design Tip: Combine Texture and Color
To elevate the look:
- Paint the wall a bold color, then add wood strips on top for contrast
- Choose a monochrome finish for a subtle, high-end feel
- Use matte finishes to highlight the texture of the paneling
A well-designed statement wall doesn’t have to be complex. With a few strips and a creative layout, MDF or plywood can completely transform a room.
Clean Lines, Rustic-Meets-Minimalist Vibe
This one’s all about getting back to basics—without feeling boring. Think natural textures, neutral palettes, and just enough edge to keep things modern. In 2024, the rustic-meets-minimalist aesthetic is showing up in vlogs everywhere, especially when creators showcase home spaces that feel calm, curated, and quietly confident.
These setups are dominating living rooms, bedrooms, and entryways. Why? Because they tell a story without screaming for attention. A well-placed wooden bench, muted textiles, and a few artisan pieces do more than fill a frame—they create mood. That matters when your space is part of your brand.
A few quick do’s and don’ts:
Do:
- Stick to a tight color palette—earth tones and soft whites play well together.
- Layer raw materials: think linen, oak, clay, and aged metal.
- Use negative space with intent. Let things breathe.
Don’t:
- Over-style. A space with too many “found objects” starts to feel forced.
- Mix too many visual styles (Scandinavian + boho + farmhouse = chaos).
- Forget function. A setup should feel livable, not like a rental listing.
Bottom line? Let your space speak for your style—without trying too hard.
Vertical Design Elements Are a Secret Weapon
If your space feels cramped, there’s a simple fix: go vertical. Details like floor-to-ceiling curtains, tall bookshelves, or even vertical paneling can stretch the room visually, making it feel taller and more open without knocking down a single wall. It’s one of those tried-and-true tricks that’s quiet but powerful.
This approach also works across styles. For a traditional vibe, think beadboard or crown molding paired with muted tones. For modern rooms, vertical slats, clean lines, and monochrome palettes keep the look streamlined. Either way, it’s about pulling the eye upward and keeping things cohesive.
The kicker? Most DIYers mess up on the cuts or spacing. Even inches make a difference. Keep lines straight, gaps even, and measure twice—because sloppy execution kills the effect. Get it right, and it looks like you spent way more than you did.
Getting a vlog-worthy space ready takes more than a fresh coat of enthusiasm. If you’re diving into any kind of room transformation project—especially one filmed start to finish—you’ll need the right tools and materials dialed in.
Start with the essentials: a solid measuring tape, a level that doesn’t lie, and a carpenter’s square for clean angles. Saws—hand saws or compact circulars—are non-negotiable if you’re cutting panel boards or trim. Adhesives and caulk guns should be handy for touch-ups, sealants, and setting panels tight. No one wants to see gaps in 4K resolution.
When it comes to paint, not all panels are created equal. MDF soaks up moisture, so use oil-based primers before laying down latex. For wood panels, a quality acrylic latex works fine and cleans up easy if things get messy. If you’re painting over laminate, lightly sand first and opt for a bonding primer.
Bottom line: a sleek setup deserves a clean finish. Don’t wing it. Plan ahead with this guide: Essential Tools Every DIY Home Renovator Should Own.
Before you even think about hanging anything, you’ve got to prep the wall like you mean it. Start by filling nail holes, dents, or any uneven spots with a decent spackle or joint compound. Once it’s dry, sand it down until the surface feels smooth to the touch—no lumps, no surprises. Clean the dust off with a dry microfiber cloth. You want the surface to be as flat and stable as your content schedule.
During panel installation, precision is everything. Use a level and take your time lining up the first piece—if it’s crooked, everything else will snowball. Avoid warps or gaps by letting your panels acclimate to the room for at least 24 hours before installation. Think of it as stretching before a run—skip it, and you’re risking a pulled hamstring (or in this case, a bowed corner).
Caulk is your best friend for that clean, built-in look. Use paintable caulk to fill seams, edges, and any shadow lines where panels meet walls or trim. Once dried and painted over, those lines disappear. Last touch: spot paint any dings or scuffs picked up during install. It’s not overkill—it’s what makes the difference between DIY and pro-level work.
Wall paneling isn’t a quick weekend fix. It takes measurements, precision, and patience. But once it’s up, the shift in the room is instant—more warmth, more character, more intention. It breaks up dull walls and gives definition, especially in spaces that feel flat or unfinished.
Beyond looks, paneling has solid return-on-investment appeal. Homes with thoughtful touches like this tend to photograph better, list stronger, and draw in buyers who value design. Even if you’re not trying to sell, there’s daily value in walking into a space that feels finished. Do it properly once, and it’s the kind of upgrade you feel good about every time you walk past it.