
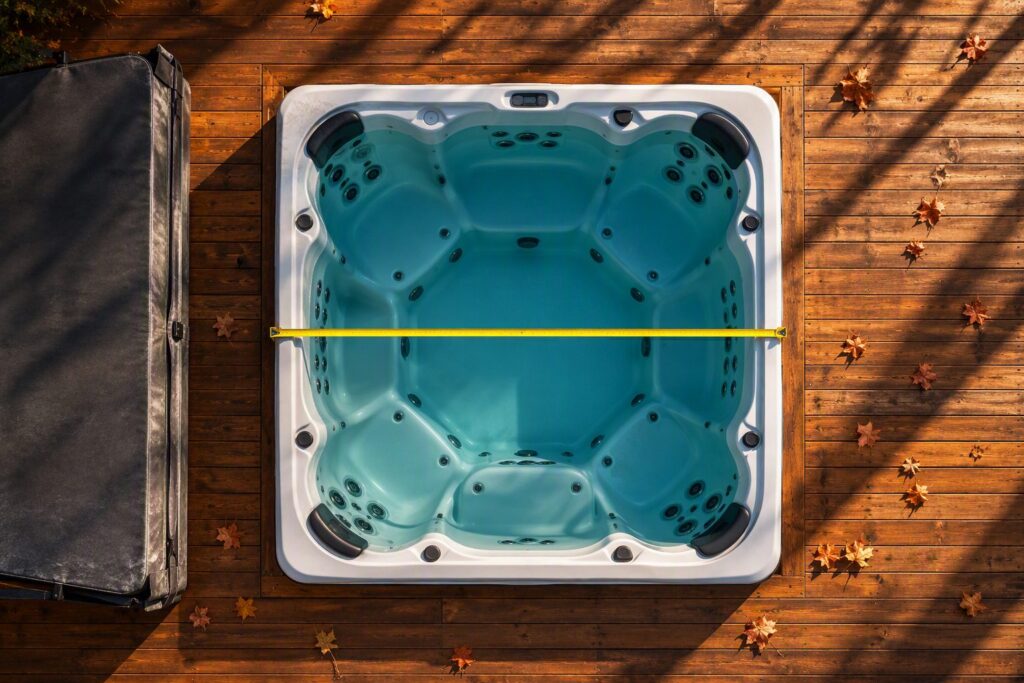
You order a replacement that looks right in the photos, but when it arrives, it sits a half-inch off the shell at one corner. The skirt might hang crooked over the control panel. Or one edge could leave a visible gap along the lip. A hot tub cover only works when it matches the tub underneath it.
Close isn’t close enough. Measuring looks simple until you account for rounded corners, an offset fold, the skirt drop, and the space a cover lifter needs to swing. Write down each figure as you go, and you hand the manufacturer a complete set of dimensions.
Why an Accurate Hot Tub Cover Fit Matters
The shell creates the footprint
Your cover footprint comes from the acrylic shell’s outer edge, the lip. The cabinet plays no part. Keep the wooden or composite siding, steps, and surrounding deck out of your measurements entirely, unless a manufacturer’s order form says otherwise.
Get this reference point wrong, and the trouble shows up the moment you open the box. A dimension that comes in short leaves part of the shell exposed at the rim. A dimension that runs long creates an overhang that can catch on a rail or lifter arm. And a wrong corner profile can undermine perfectly measured length and width, because the panel will not seat cleanly against a curve it was not cut to match.
Fit affects more than appearance
A spa spends most of its life closed, holding heated water. The cover is an insulated surface between the water and the outside air, and every gap at the rim works against that insulation.
No cover, no measurement, can promise a set drop in your power bill. Yet one that sits flat against the lip, closes evenly, and stays clear of the controls repays every minute you spend measuring.
Prepare the Tub and Your Measuring Worksheet
Gather the right tools
You don’t need much. Leave the soft sewing tape in the drawer. It follows the shell’s curves when it should cut straight across.
| Item | Purpose |
|---|---|
| Rigid measuring tape | Measures the shell without following curves |
| Carpenter’s square or two straightedges | Helps determine a rounded corner’s radius |
| Paper, pencil, and clipboard | Keeps raw figures separate and legible |
| Painter’s tape | Marks hinge lines and measurement points temporarily |
| Camera or phone | Records the tub’s shape, controls, and nearby obstructions |
| Manufacturer diagram, if available | Confirms shape names and model-specific details |
Remove anything that hides the shell edge
Pull the old cover off, then clear each side you plan to measure. Cushions, headrests, loose accessories, a lifter bar leaning on the cabinet: any of these can block the straight edge-to-edge measurement you need.
If the tub is recessed into a deck or enclosed by railing, write down how much clearance you have above the shell and behind the hinge. Even a correctly sized cover can jam when the panel folds back. Put that clearance on the same sheet as your dimensions.
Draw the spa as viewed from above
Sketch the tub as if you were looking straight down at it. Mark the control-panel side first, then note the fold direction. Include steps, rails, speakers, or a waterfall housing that could interfere with an open panel.
That drawing is your measurement record. It keeps length and width from getting swapped when you fill out an order form, a mistake people make more often than you’d guess.
How to Measure Your Hot Tub for a Cover
Follow the measurement sequence
Work in order and write each number on the sketch as you take it.
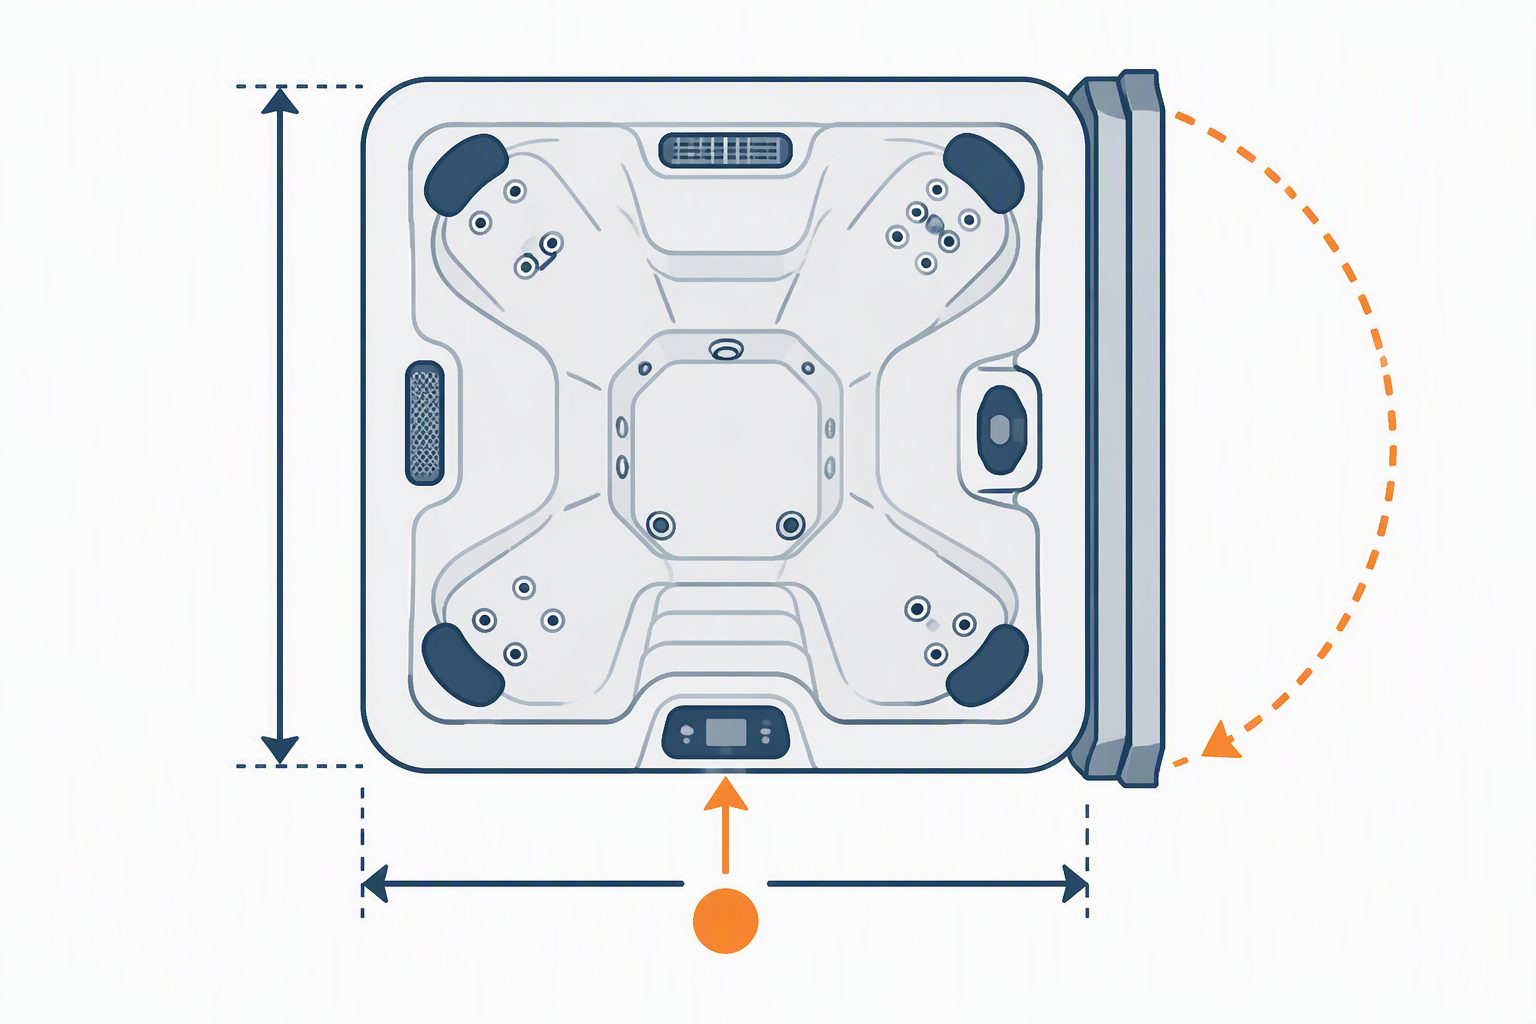
- Identify the basic shape. Pin down the shell’s form: rectangular, square, round, oval, multi-sided, or irregular. A model name alone does not guarantee a standard profile.
- Set and label the orientation. Mark the control side and fold direction, then hold that orientation fixed for every later measurement.
- Measure the overall length. Pull the tape in a straight line between the outermost shell edges. Don’t let it follow a curve.
- Measure the overall width. Measure at the widest point, perpendicular to the length, using the shell’s outer edges again.
- Check both ends and sides. Repeat parallel measurements where you can. A mismatch might point to an asymmetric shell, or to an error in your first measurement.
- Record the corner treatment. Note which corners are square, rounded, clipped, or irregular. Do not assume all four match.
- Mark the hinge or fold line. Record its direction and location. For an uneven split, measure both panel depths; do not assume the fold is centered.
- Measure the skirt and restraint details. Record the requested skirt drop, strap positions, clip locations, and handle orientation separately from the footprint.
- Photograph and verify the worksheet. Retake the major dimensions, check your units, and compare the figures with the overhead sketch.
For square or rectangular hot tubs, measurements start with the overall length and width. They are not enough on their own. Two spas with the same listed size can need different covers, because one has a tight corner radius and the other a broader curve that changes how the finished panel seats on the lip. That is why a manufacturer like The Cover Guy cuts each custom hot tub cover to the dimensions you record, radius and fold direction included, so the finished panel follows your shell and not a stock size chart.
Measure Corners, Hinges, and Skirts Correctly
Finding a rounded corner’s radius
Lay one straightedge along each straight side leading into the rounded corner. Extend both lines until they cross at the point where a square corner would sit. Measure from that theoretical corner to the point where the curve begins along either side. On a regular quarter-circle corner, that distance is the radius.
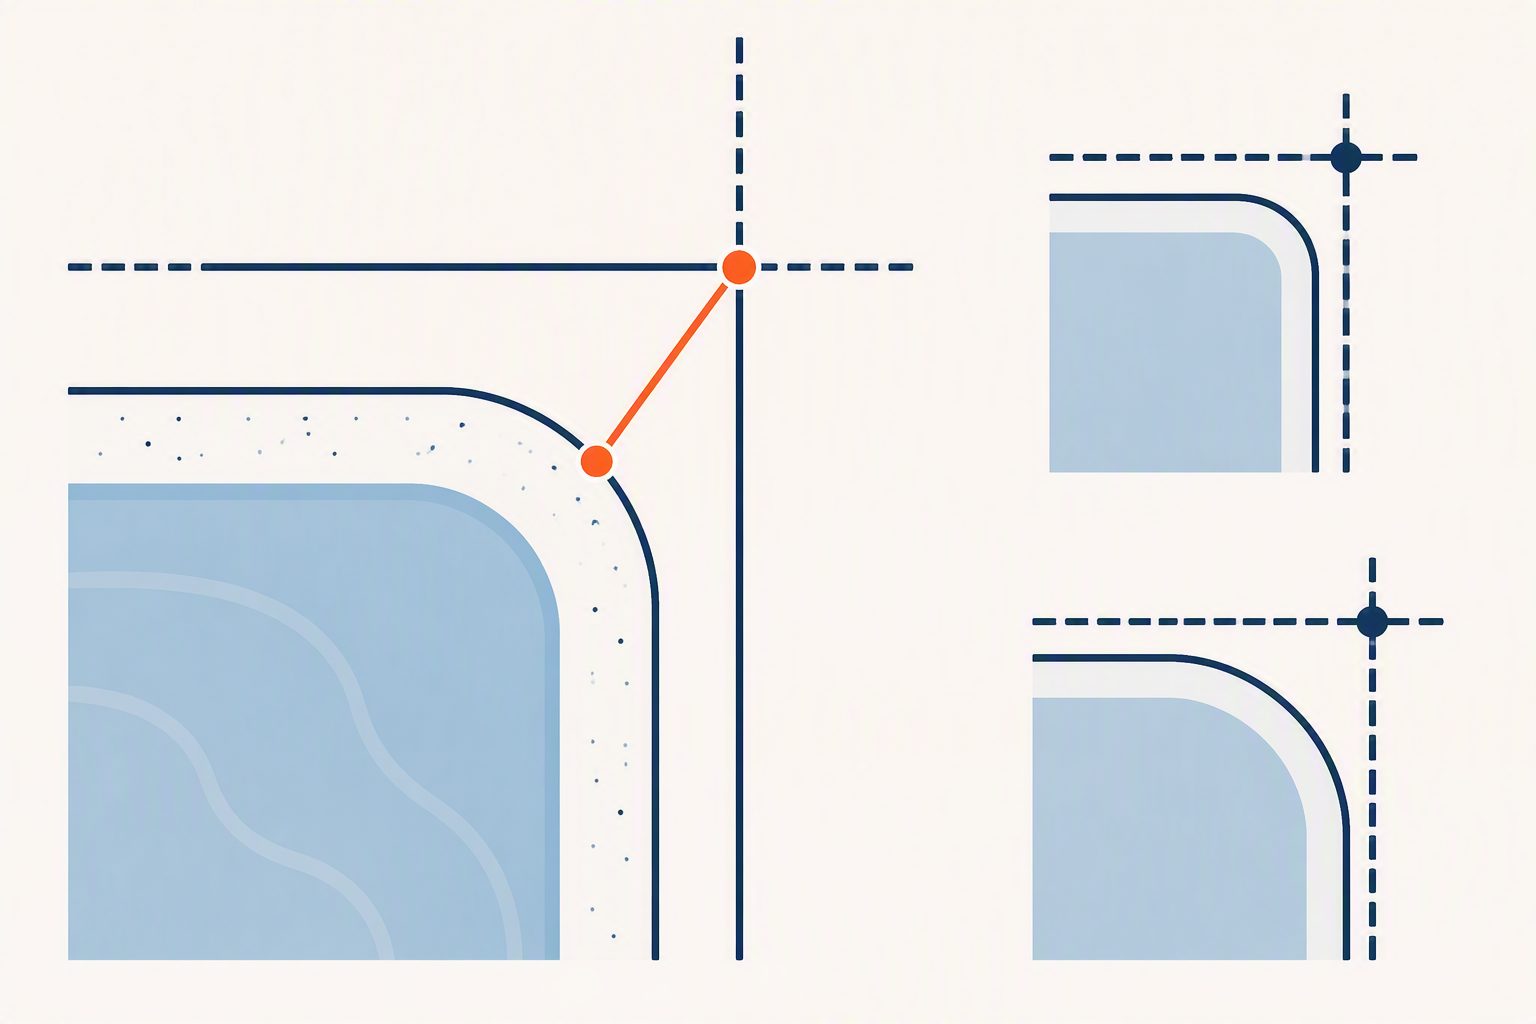
Two cautions can prevent a costly reorder. A larger radius indicates a broader curve. And do not estimate the radius from an old cover that no longer follows the shell cleanly.
Irregular corners need their own approach. Trace the shape onto stiff paper or cardboard and follow the seller’s template procedure exactly. A photo taken from above provides useful context, but it cannot replace a template when the manufacturer requires one.
Recording the hinge line and fold direction
The hinge determines how the cover opens and where the folded panel rests. Mark that line on your overhead sketch and describe its direction using the labeled control side as the reference point.
For a centered fold, confirm that the two panels are intended to be equal in depth. For an offset or unusual split, record the distance from the outer edge to the hinge centerline and the depth of each panel using the seller’s requested reference points. Then inspect the area behind the hinge. A pergola post, fence, raised control housing, or cover lifter can stop a panel that fits properly when closed.
Getting the hot tub cover skirt length
The skirt is the flexible flap that hangs from the cover’s bottom edge. It conceals and shields the shell lip, and it plays no part in the cover’s length or width.
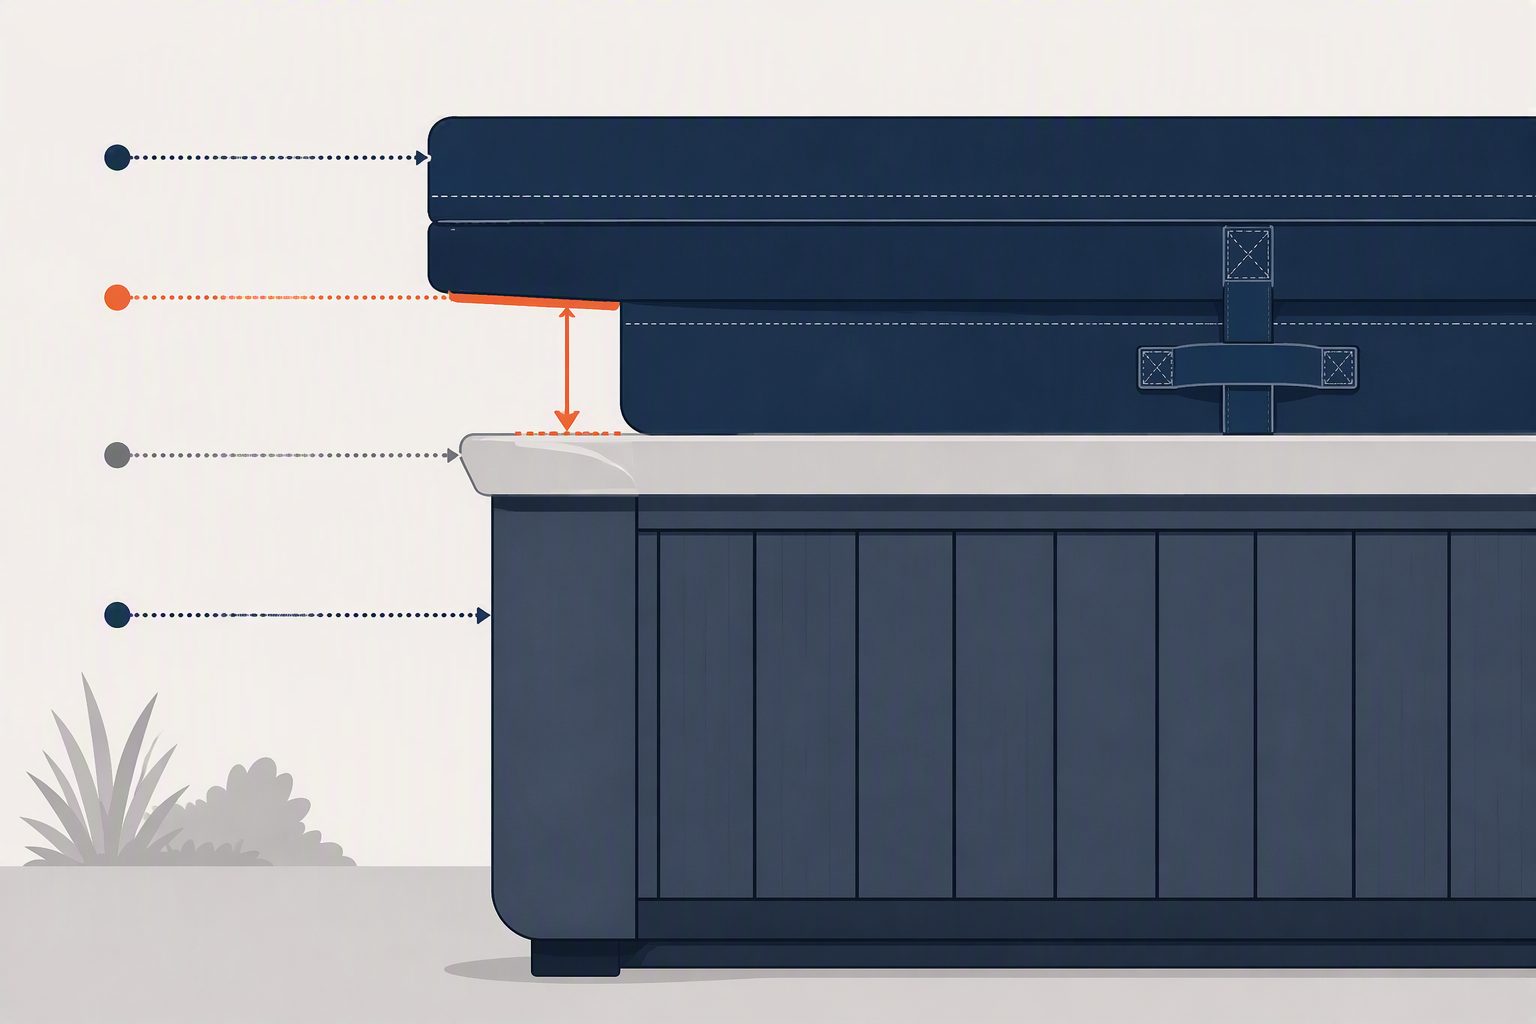
Measure vertically from the underside of the closed cover to where the skirt should end. It needs to conceal the exposed lip without hanging so low that it bunches against the cabinet or presses on the topside control panel.
If your current skirt fits correctly, its finished drop can provide a useful reference. If it is short, stretched, or curling under, disregard it and measure the tub.
Straps, clips, handles, and obstructions
Sellers use different reference points for strap dimensions, so follow the instructions printed on the order form. Note if the requested measurement runs to the strap edge or the centerline, and whether it starts at the cover edge or a corner.
Photograph anything that could interfere with the cover. A lifter mount, a step tread that overlaps the lip, or a low soffit above the tub should appear in the photos you keep with the worksheet.
Verify the Replacement Measurements and Catch Common Errors
Run the final verification checklist
Review these points before opening the order page.
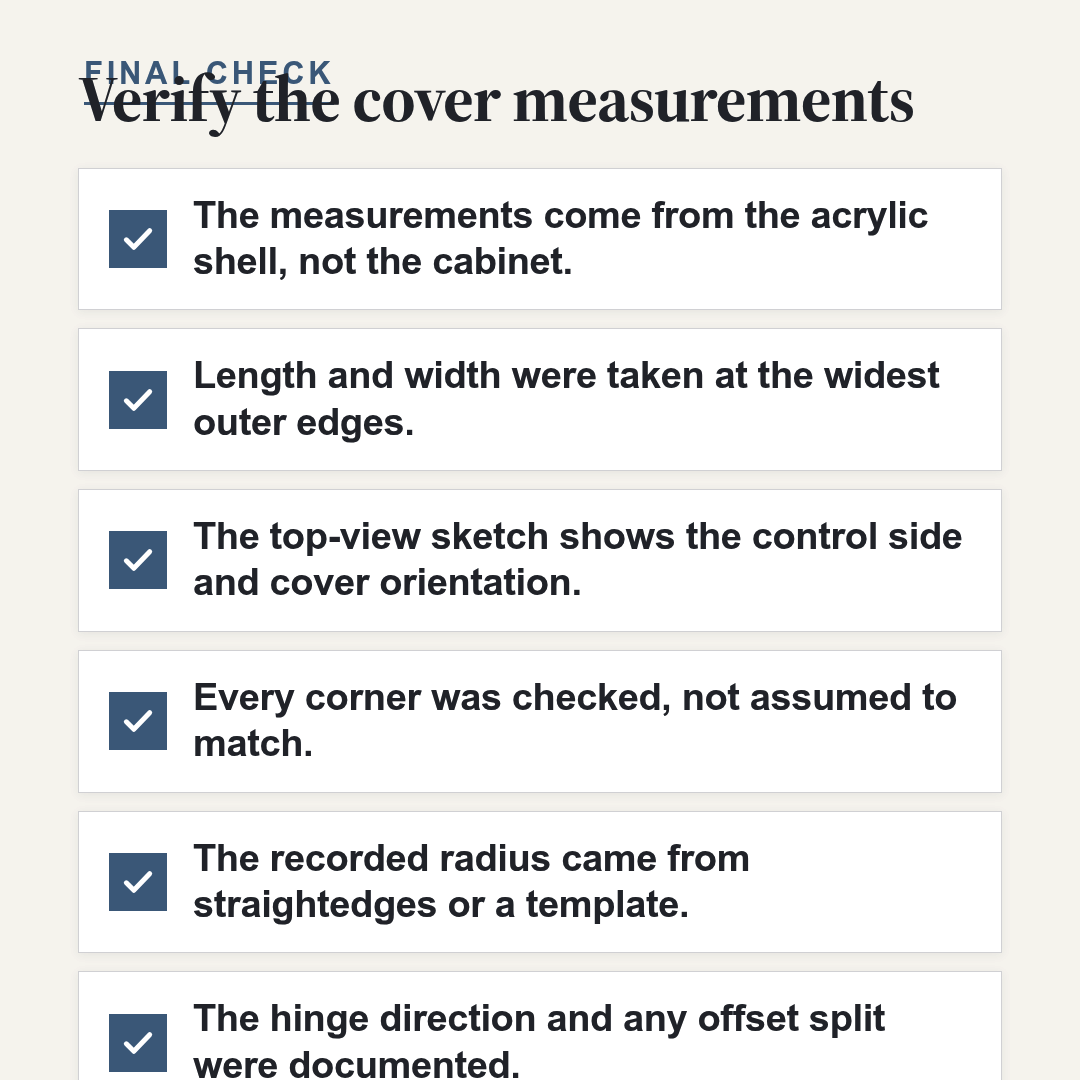
- The measurements come from the acrylic shell, not the cabinet.
- Length and width were taken at the widest outer edges.
- The top-view sketch shows the control side and cover orientation.
- Every corner was checked, not assumed to match.
- The recorded radius came from straightedges or a template.
- The hinge direction and any offset split were documented.
- Skirt length was recorded separately from cover thickness.
- Strap measurements follow the seller’s stated reference points.
- Nearby rails, lifters, and walls appear in photographs.
- Every number includes a unit and was measured twice.
- Raw figures were saved before applying supplier rounding rules.
One more pass is worth the effort. Have someone read each figure aloud from the worksheet while you hold the tape across the shell and confirm it.
Mistakes that cause an awkward fit
Measuring only the old cover: An aging panel can warp, swell, and sag, and it may have been the wrong size when it was delivered. Treat it as supporting information at most.
Following a curve with the tape: This produces an arc length, which is longer than the straight footprint most order forms request.
Assuming four identical corners: A molded feature or asymmetric shell design can make one corner unlike the other three. Check every corner individually.
Rounding too early: Keep the original reading exactly as measured. Apply only the rounding instructions provided by the manufacturer you choose.
Confusing skirt drop with cover size: The skirt hangs below the cover. It does not add to the shell footprint.
Ignoring opening clearance: A cover sized for the closed position can still collide with a wall or lifter when it folds back.
Turn the Measurements Into a Custom-Cover Order
Match the order form to the worksheet
Transfer one field at a time and consult the worksheet for each entry; do not work from memory. Units, fold orientation, radius, and strap references all need to match the terminology on the seller’s form. Read the current ordering, shipping, and warranty terms before you pay, and compare every field with your worksheet one last time before submitting.
No company supports every possible shape or specification. If your spa is irregular, recessed, or modified, ask before paying whether a paper template or an additional diagram is required.
What determines the right cover
The right cover matches your tub’s actual footprint and the conditions where it will live. Fit comes first. Insulation, vapor protection, exterior material, and safety restraints come next, based on your climate, warranty preferences, and the amount of weight you are comfortable lifting.
Practical Questions About Replacement Spa Covers
What makes a cover suitable for a particular hot tub?
A suitable cover matches the shell dimensions and corner profile, folds in the direction your space allows, and has insulation and restraint features appropriate for the tub’s location. There is no universally best material, because a spa in a windy, cold backyard faces conditions a warm, sheltered courtyard never will.
Will a standard spa cover fit every model?
No. Two tubs with similar advertised sizes can have different corner radii, control layouts, or shell profiles. Do not order from a broad size label alone unless the seller confirms compatibility with your manufacturer and model.
What affects the price of a replacement cover?
Price varies with the cover’s overall footprint and shape. Insulation specifications, exterior material, reinforcement, skirt configuration, shipping distance, and optional features add to the total. Request written quotes based on identical specifications and compare them line by line.
When should an aging spa cover be replaced?
A cover’s service life varies widely. Consider replacement when the panel becomes waterlogged or noticeably heavier, sags in the middle, cracks along the seam, no longer closes evenly, or has restraints that no longer work. Climate exposure, chemical vapor, and regular handling all affect how quickly these conditions develop.
How should you choose where to order a custom cover?
Choose a manufacturer or retailer that requests a complete measurement set, states its dimensional tolerances in writing, publishes clear warranty and shipping terms, and accepts templates for irregular shapes. A seller that requests only rough length and width measurements may not have enough information to produce a custom fit.
Measure Twice, Then Order Once
The shell is your reference. The corner radius shapes the panel, the hinge orientation determines how it opens, and the skirt drop finishes the edge. An old cover can show you what went wrong before, but it cannot tell you the correct replacement dimensions. So remove the cover, draw the outline of your spa from above, label the control side, and take a straight edge-to-edge measurement across the widest point. Complete and verify the worksheet before placing your order.
 Daniel Cartersonicser is the kind of writer who genuinely cannot publish something without checking it twice. Maybe three times. They came to diy renovation projects through years of hands-on work rather than theory, which means the things they writes about — DIY Renovation Projects, Home Improvement Strategies, Home Design Updates, among other areas — are things they has actually tested, questioned, and revised opinions on more than once.
That shows in the work. Daniel's pieces tend to go a level deeper than most. Not in a way that becomes unreadable, but in a way that makes you realize you'd been missing something important. They has a habit of finding the detail that everybody else glosses over and making it the center of the story — which sounds simple, but takes a rare combination of curiosity and patience to pull off consistently. The writing never feels rushed. It feels like someone who sat with the subject long enough to actually understand it.
Outside of specific topics, what Daniel cares about most is whether the reader walks away with something useful. Not impressed. Not entertained. Useful. That's a harder bar to clear than it sounds, and they clears it more often than not — which is why readers tend to remember Daniel's articles long after they've forgotten the headline.
Daniel Cartersonicser is the kind of writer who genuinely cannot publish something without checking it twice. Maybe three times. They came to diy renovation projects through years of hands-on work rather than theory, which means the things they writes about — DIY Renovation Projects, Home Improvement Strategies, Home Design Updates, among other areas — are things they has actually tested, questioned, and revised opinions on more than once.
That shows in the work. Daniel's pieces tend to go a level deeper than most. Not in a way that becomes unreadable, but in a way that makes you realize you'd been missing something important. They has a habit of finding the detail that everybody else glosses over and making it the center of the story — which sounds simple, but takes a rare combination of curiosity and patience to pull off consistently. The writing never feels rushed. It feels like someone who sat with the subject long enough to actually understand it.
Outside of specific topics, what Daniel cares about most is whether the reader walks away with something useful. Not impressed. Not entertained. Useful. That's a harder bar to clear than it sounds, and they clears it more often than not — which is why readers tend to remember Daniel's articles long after they've forgotten the headline.